If you're aiming to perfect your smoky eye technique, you might find the "11 Best Smokey Eye Makeup Tutorials" quite beneficial. These tutorials cater to all skill levels and styles, from the classic black smoky eye to vibrant, colorful variations. You'll discover essential tips on blending and application tailored for various eye shapes, helping you achieve a polished look. But before you jump in, consider what specific styles might elevate your makeup game and suit your unique features…
Essential Smoky Eye Techniques
Creating a flawless smoky eye involves a few essential techniques that can elevate your makeup game. First off, make sure to prime your eyelids with eyeshadow primer or a little bit of concealer. This step's vital since it helps the shadows stick better and go on smoothly.
Next, you'll want to choose a base shade that matches your skin tone. Then, grab a contour shade that's a few shades darker to add some depth in your crease area. When applying the smoky shadow, focus on your lash line for that intense look. Shape it in an oval form, which gives a classic smoky effect.
Now, it's time to blend! Use a clean blending brush to soften any harsh lines between the base and contour shades. This is where the magic happens, creating a seamless shift that looks super polished.
Beginner-Friendly Smoky Eye Tutorial
Mastering the smoky eye doesn't have to be intimidating, especially if you're just starting out. First, apply an eyeshadow primer or concealer across your lids. This creates a smooth base that helps the eyeshadow stick better. Trust me, it's essential for that smoky look!
Next, grab a blending brush and use a base shade that matches your skin tone in the crease area, carefully avoiding the lid. Then, shift to a mid-tone shade to soften any harsh lines.
For the smoky effect, take a contour shade and apply it close to your lash line. Focus on the roots of your lashes and blend upwards, but don't go too high!
To enhance the look, use a pencil liner on your waterline. This gives you a more defined appearance. If you want to go all out, consider adding false lashes for a thicker lash line illusion.
Finish your masterpiece by cleaning up under your eyes for contrast. Add a brightening shadow in the inner corner and layer on some mascara for extra volume and length.
Voilà! You've got a stunning smoky eye that even beginners can rock!
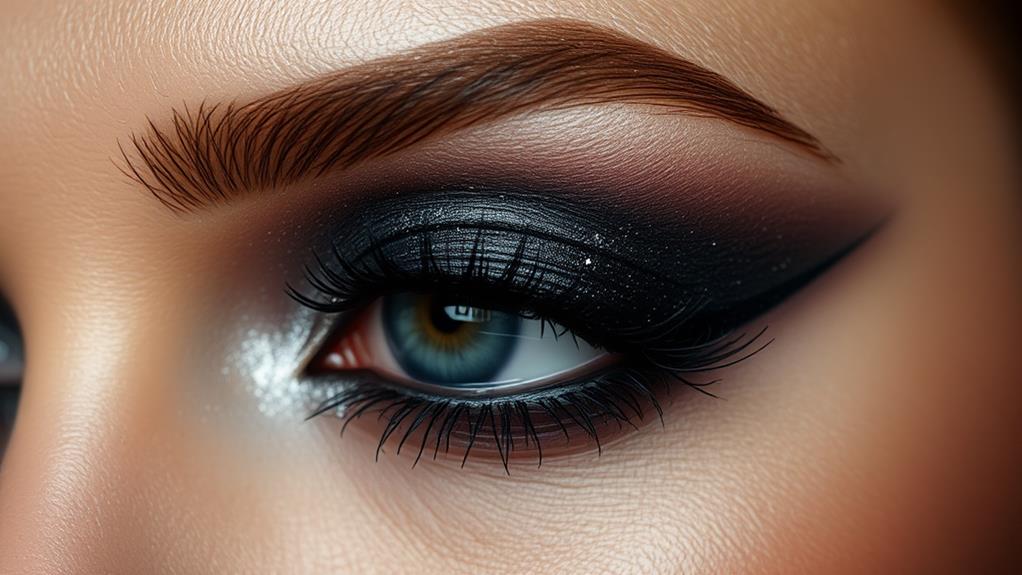
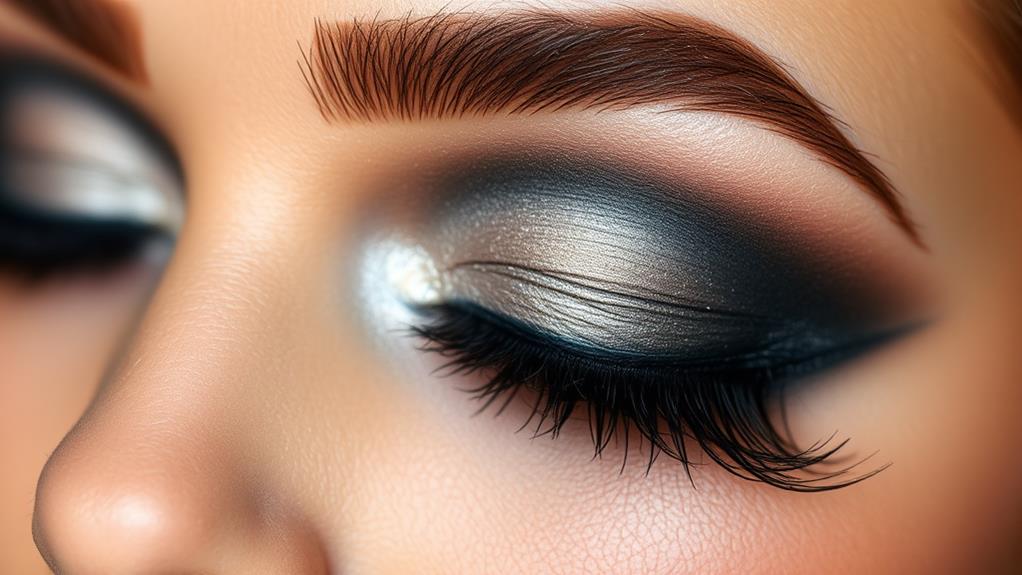
Classic Black Smoky Eye
The classic black smoky eye is a timeless look that can elevate any makeup routine. To start, you need a well-primed lid. Apply primer from your lash line to your brows for that flawless base.
Next, use a base shade matching your skin tone, then add a mid-tone to help with blending. Finally, grab a deep black shadow and apply it close to your lash line for some serious intensity.
Now, it's blending time! Use a blending brush to gently mix those colors together. Focus on blending the black shadow halfway into your crease to keep that depth in your look.
Don't forget the pencil liner! Darken your waterline to enhance the smoky effect while keeping everything neat and defined.
To finish off your masterpiece, layer on plenty of mascara. If you're feeling extra fabulous, add some false lashes for a dramatic touch.
Just remember to clean up any under-eye smudges for that striking contrast against your bold smoky eye.
And there you have it! You've got a classic black smoky eye that'll make heads turn and hearts flutter. Enjoy the compliments!
Colorful Smoky Eye Variations
When it comes to adding a splash of color to your smoky eye, the possibilities are endless. You can swap out the traditional black shadow for vibrant shades like purples, blues, or greens. This twist creates a bold, standout look that's sure to turn heads!
To start your colorful smoky eye, apply a base shade on your eyelid. Then, choose your favorite colorful shadow and place it in the outer corner. Blend it seamlessly into the crease—this helps avoid any harsh lines. If you use a mid-tone shade that complements your colorful choice, it'll soften those lines even more, giving you a polished appearance.
Don't forget to add a pop of lighter shadow or shimmer in the inner corner of your eye. This little trick brightens up your look and contrasts beautifully with the deeper shades.
Feeling extra adventurous? Experiment with metallic or glittery finishes! They can elevate your colorful smoky eye, adding a festive or glamorous touch for any occasion. So go ahead, release your creativity, and rock that colorful smoky eye with confidence!
Quick and Easy Smoky Eye
Adding color to your smoky eye can be fun, but sometimes you need a quick and easy option that still packs a punch. Start by applying an eyelid primer. This sticky base helps your eyeshadow stick and blend nicely, making everything easier.
Next, use three shades. Pick a base shade that matches your skin tone to even things out. Then, grab a mid-tone for blending, and finally, choose a smoky shadow for your lid.
Apply the smoky shadow close to your lash line in an oval shape. This way, you can blend it upwards into your crease for a soft look without spending too much time blending.
For a quick definition, use a pencil liner on your waterline. This darkens the area between your lashes and boosts the smoky effect without needing a fancy application.
Finish up by applying mascara generously to make your lashes pop!
To wrap it all up, add a light shadow to your inner corners and brow bone. This little touch brightens your look while keeping things fun and smoky.
Voilà! You've got a fabulous smoky eye in no time!
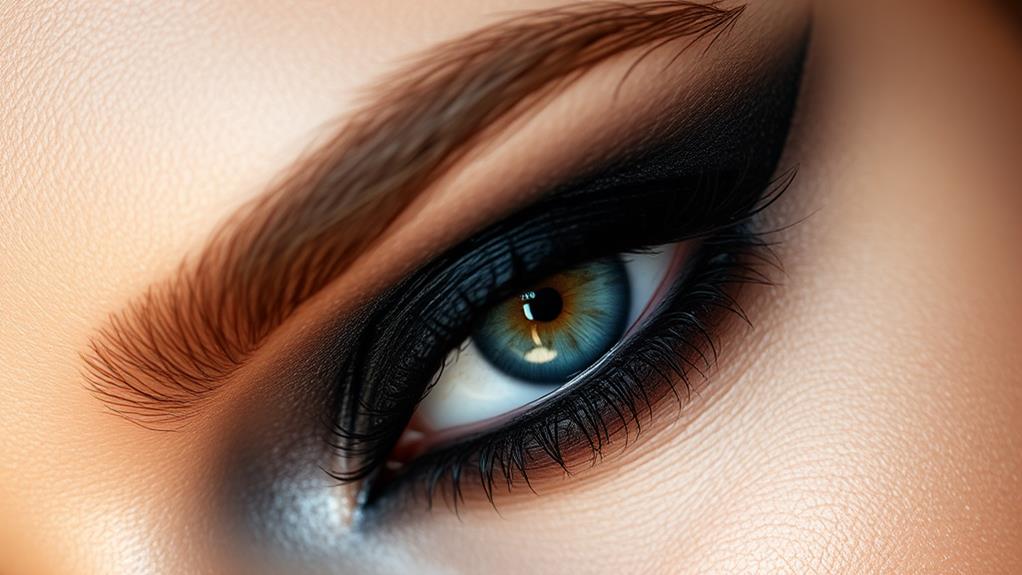
Dramatic Evening Smoky Eye
Creating a dramatic evening smoky eye transforms your look into something truly enchanting. To start, grab a good primer and apply it on your eyelids. This guarantees your makeup lasts all night and helps the eyeshadow stick better.
Next, choose a base shade that matches your skin tone. Then, pick a mid-tone for blending and a dark smoky shadow to add depth, focusing on the lash line for that bold look.
For that classic smoky effect, blend the dark shadow upwards into the crease. Make sure to keep the darkest colors close to your lashes for a seamless look.
Now, it's time to amp things up a bit! Apply a thick line of pencil liner on your waterline and smudge it along the lower lash line. This will really intensify your eyes and give you that sultry vibe.
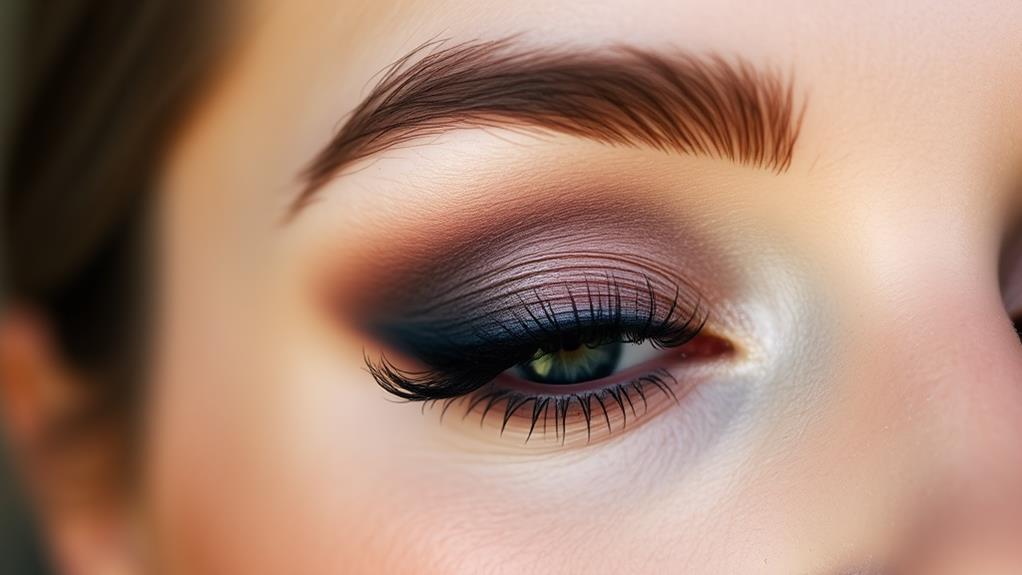
Soft and Subtle Smoky Eye
While a dramatic smoky eye is perfect for special occasions, a soft and subtle smoky eye offers a beautiful, everyday alternative that enhances your features without overwhelming them.
It's like wearing a cozy sweater instead of a flashy outfit—both are great, but sometimes you just want something comfy!
To start, use a base shade that matches your skin tone. This creates a seamless canvas.
Next, grab a mid-tone color and blend it into your crease. This adds depth, but don't go too dark—keep it gentle.
For your eyelids, choose a light shimmer or satin shadow. This keeps your eyes bright and fresh! You can use a darker shade right near your lash line for just a hint of definition.
For the waterline, reach for a soft brown or gray pencil liner. It enhances your eyes without the drama of black.
Finally, finish off with a few coats of mascara. Aim for defined lashes, but avoid clumping—nobody wants spider legs on their eyes!
With this look, you'll feel elegant and approachable, ready to take on the day.
Smoky Eye for Hooded Lids
Mastering a smoky eye for hooded lids can elevate your makeup game, allowing you to showcase your features beautifully.
First, grab a good primer! It's super important for keeping your eyeshadow in place since hooded lids can be tricky and prone to creasing.
When applying your darker shadows, remember to place them slightly above your natural crease line. This way, they'll still be visible when your eyes are open, giving the illusion of depth.
You'll want to use matte shades in your blending area, too. They help avoid any shine that can make your lids look even more hooded.
Next, blending is your best friend! Use a small, fluffy brush to gently diffuse the edges of your darker shades. Go slow so you don't accidentally bring them too high into the crease—nobody wants that!
For a finishing touch, consider tight-lining your eyes with a dark eyeliner along your upper lash line. This adds definition without making your lids look bulkier.
Now, you're all set to rock that smoky eye! Enjoy experimenting and showing off your fabulous style!
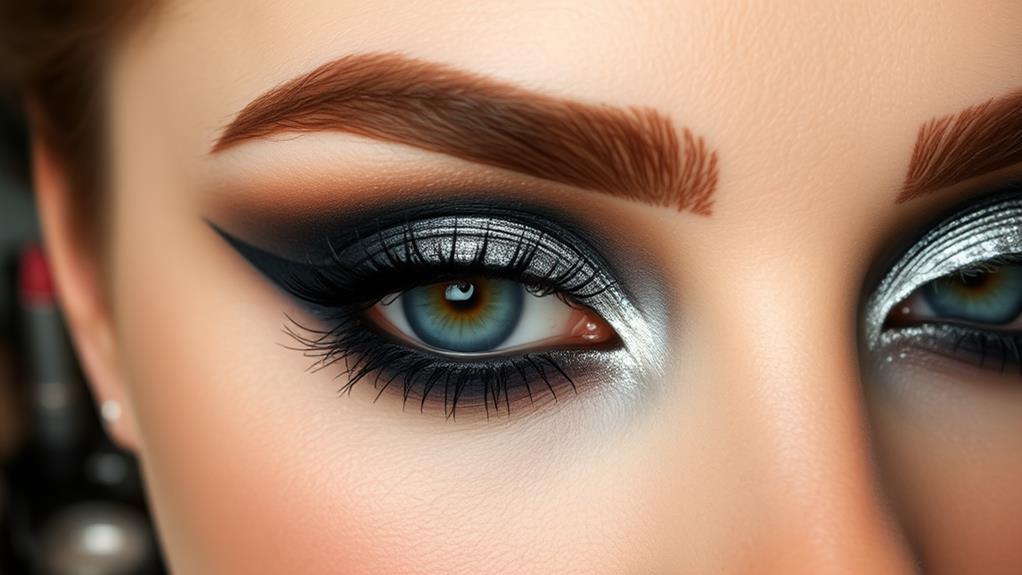
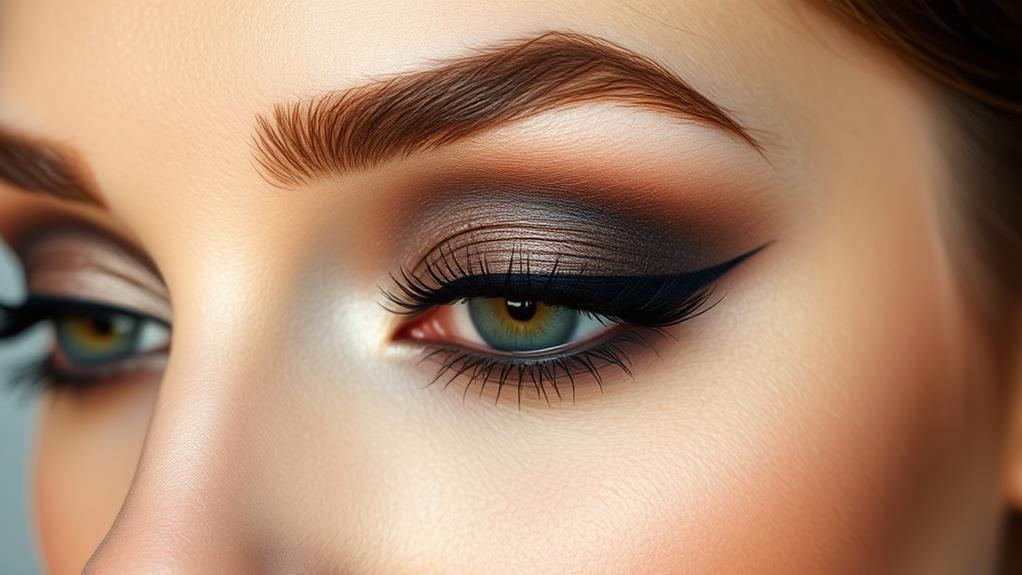
Vintage Glam Smoky Eye
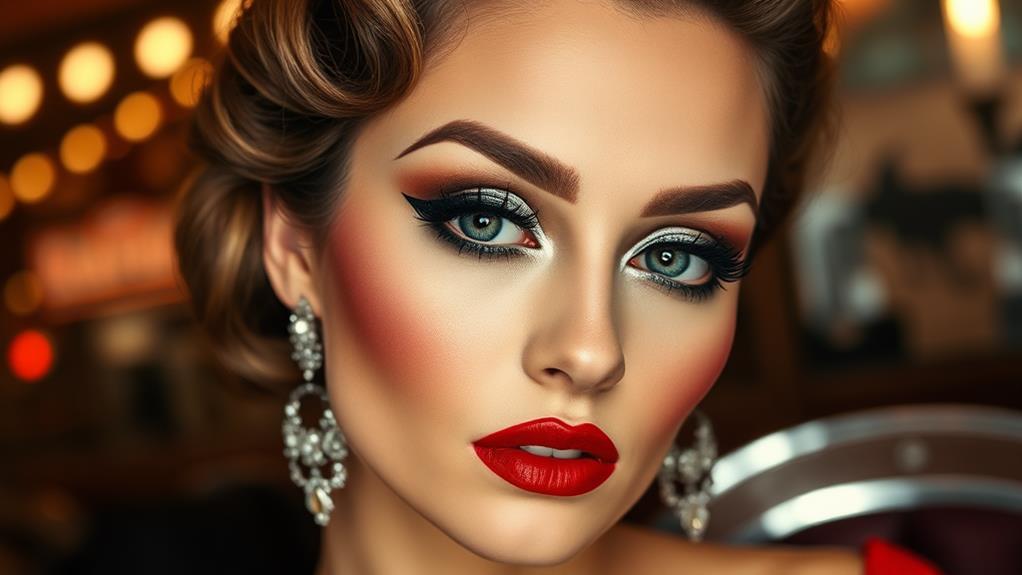
If you're looking to switch up your smoky eye game, the Vintage Glam Smoky Eye offers a sophisticated twist that channels the allure of classic Hollywood.
To start, you'll want to even out your eyelid with a neutral base shade. This sets the stage for a stunning look!
Next, grab a mid-tone brown and apply it in the crease. This helps with a smooth progression before you go in with a darker smoky shadow close to your lash line.
Now, here comes the fun part: winged eyeliner! A classic flick adds elegance and lift, making your eyes pop. It's like adding a fancy bow to a beautiful gift!
To really make your eyes stand out, finish with false lashes or a volumizing mascara. This gives you that bold but soft look that's so vintage chic.
And don't forget, highlighting your brow bone and the inner corners of your eyes with a shimmering shade creates a lovely contrast against the smoky tones.
You'll feel like a movie star! So, grab your makeup brushes, and get ready to rock that Vintage Glam Smoky Eye!
Smoky Eye With Glitter
For those wanting to add a dazzling twist to their smoky eye, incorporating glitter can elevate your look from ordinary to extraordinary. Start by applying a sticky eyeshadow primer, as it helps the glitter stick and makes everything pop!
Choose a darker eyeshadow for your base shade—this is key for that smoky effect. Then, layer a shimmery glitter eyeshadow right on top of your lid. It's like adding a cherry on top of a sundae!
Now, blend the edges of your dark shade with a mid-tone shadow. This creates a smooth shift and makes your eyes look amazing. When you get to the glitter, use a fine-tipped brush to apply it close to the lash line for extra intensity.
Oh, and don't forget to use a setting spray, so your sparkles stay put all day long!
To finish off your look, define your lower lash line with that dark shadow. Then, pop a little glitter in the inner corner of your eyes to brighten them up. Trust me, you'll feel like a star!
Smoky Eye for Every Occasion
Glitter adds a fun flair to your smoky eye, but knowing how to adapt your look for various occasions is equally important.
For a daytime look, go for a softer smoky eye using lighter shades like soft browns or taupes. Blend gently to create a subtle effect that enhances your eyes without overwhelming them.
When it's time for a night out, you can't go wrong with a classic black smoky eye. Use a deep black shadow close to your lash line and blend it upwards for a dramatic effect.
If you're attending a wedding, consider a romantic smoky eye with muted colors like plum or taupe. Adding a shimmering highlight on the inner corners will brighten your eyes while keeping it elegant.
For seasonal parties, why not have some fun? Incorporate festive colors, like deep greens or burgundies, into your smoky eye for a unique twist that'll stand out.
Lastly, in a professional setting, a refined smoky eye with neutral tones is perfect. Focus on soft blending and minimal shimmer for that polished and sophisticated look.
With these tips, you'll be ready for any occasion!